
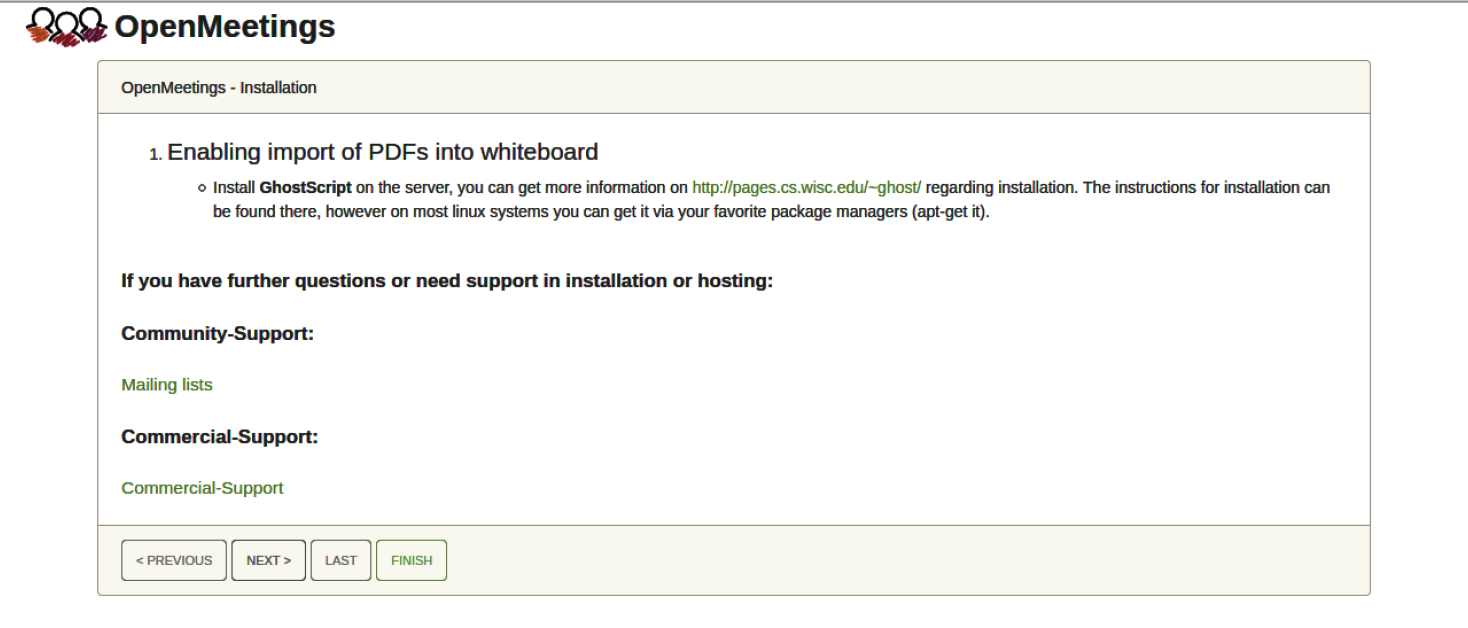
- Installation of OpenMeetings
- Script to launch Tomcat-OpenMeetings
- Run Tomcat-OpenMeetings
- Configure LLMeetings
- Build from Source
Installation of OpenMeetings
We´ll install OpenMeetings in /opt/open710. All the following information will be based on this directory:
cd /opt…download the tomcat-OpenMeetings file:
sudo wget https://archive.apache.org/dist/openmeetings/7.1.0/bin/apache-openmeetings-7.1.0.tar.gz…uncompress it:
sudo tar xzvf apache-openmeetings-7.1.0.tar.gz…and rename the obtained folder:
sudo mv apache-openmeetings-7.1.0 open710…and we do to “nobody” user ownner of OpenMeetings installation folder:
sudo chown -R nobody:nogroup /opt/open710Download and install the connector between OpenMeetings and MariaDB:
cd /opt
sudo wget https://repo1.maven.org/maven2/mysql/mysql-connector-java/8.0.30/mysql-connectorjava-8.0.30.jar
…and copy it to where must be:
sudo cp /opt/mysql-connector-java-8.0.30.jar /opt/open710/webapps/openmeetings/WEB-INF/libScript to launch Tomcat-OpenMeetings
Please, download the tomcat-OpenMeetings run script:
cd /opt
sudo wget https://cwiki.apache.org/confluence/download/attachments/27838216/tomcat34
…copy it to:
sudo cp tomcat34 /etc/init.d/…and concede permission of execution:
sudo chmod +x /etc/init.d/tomcat34If you would made the installation in any other different path to /opt/open710, please edit the script and modify the line:
CATALINA_HOME==/opt/open710…to
CATALINA_HOME==/your-path-installationRun Tomcat-OpenMeetings
Start MariaDB, if it is still not:
sudo /etc/init.d/mariadb startYou can check if it is up:
sudo netstat -anp|grep 3306and now start Tomcat-OpenMeetings:
sudo /etc/init.d/tomcat34 startYou can check if it is up:
sudo netstat -anp|grep 5443wait 30 seconds at least, in order that tomcat runing completely. And after this, you can go to:
https://localhost:5443/openmeetings
…there will appear a page similar to this one:
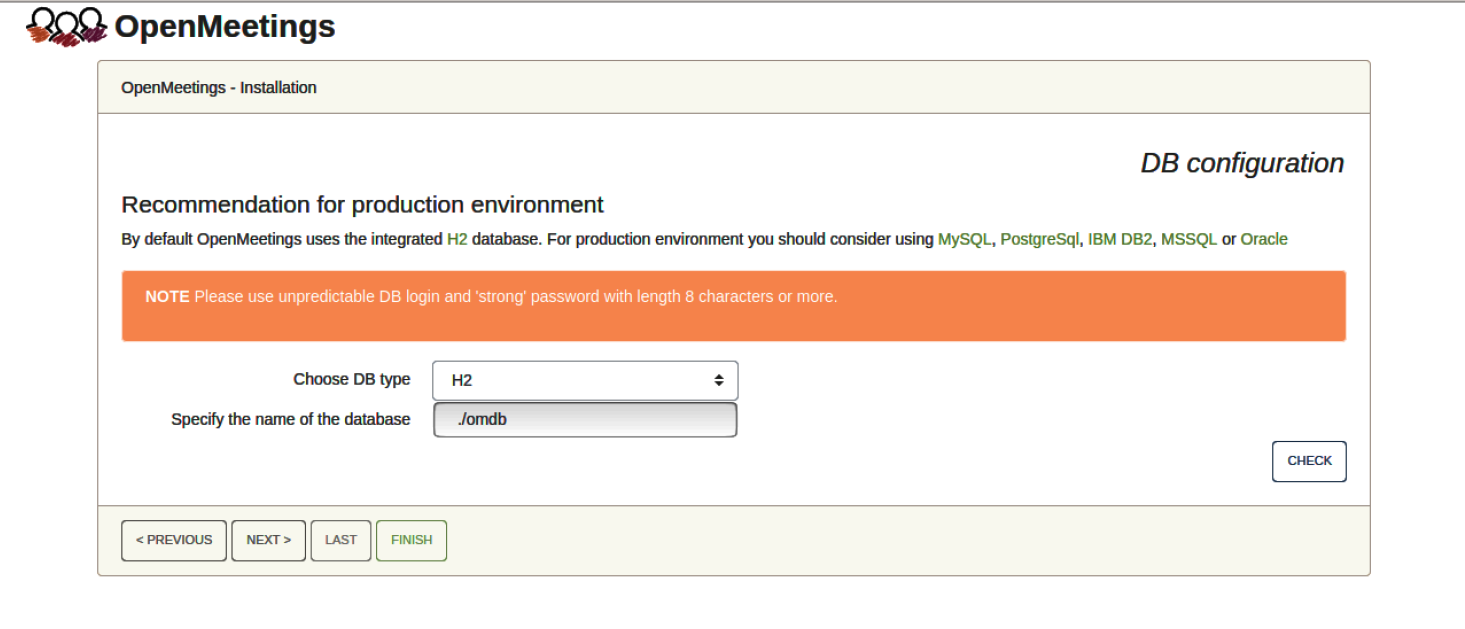
…press on “Next >” button (bottom), and will show the default database configuration
with H2, but we employ MySQL (MariaDB),
…then, scroll and Choose DB type to MySQL:
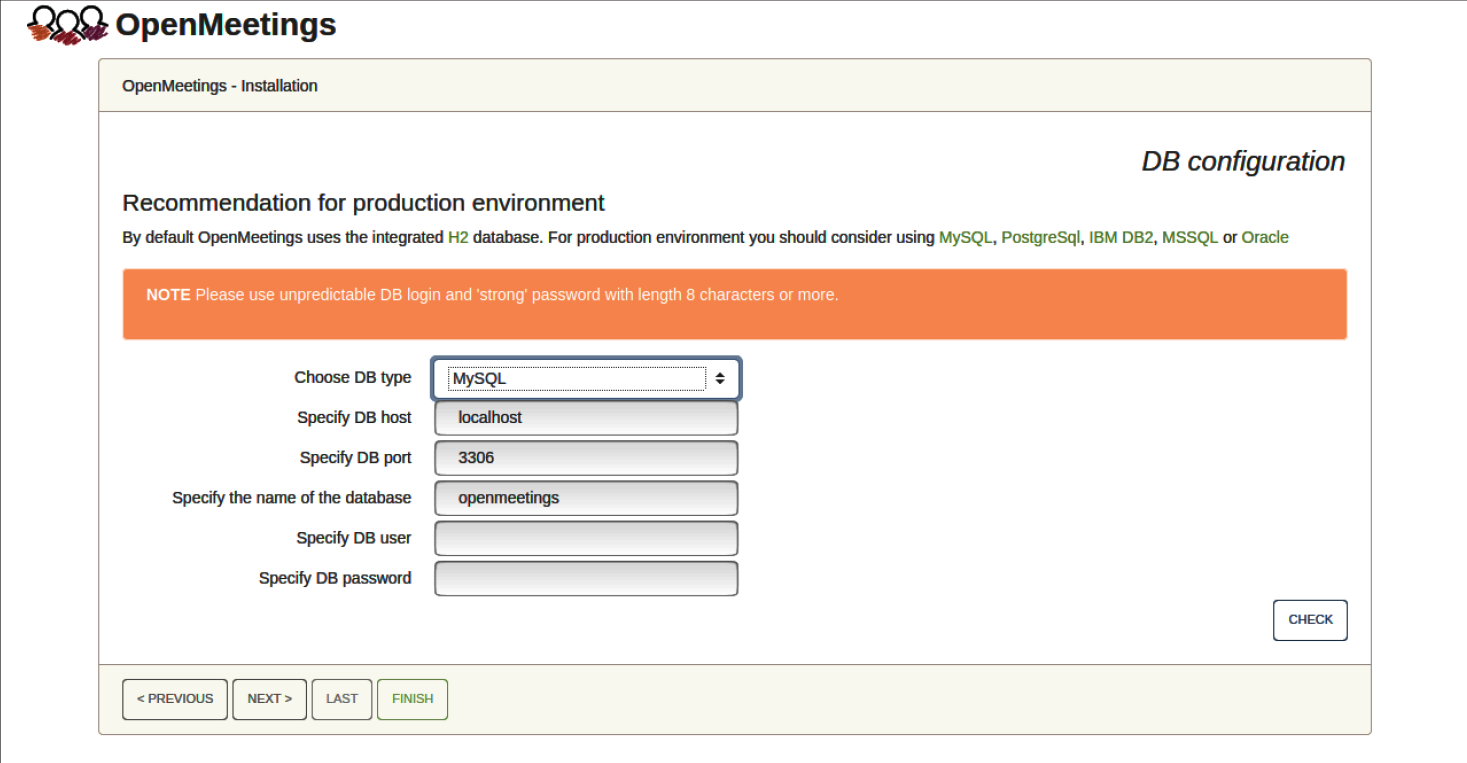
Now we must introduce the database name, user name and his password, we did at the MariaDB database server installation
Specify the name of the database = open710
Specify DB user = hola
Specify DB password = 1a2B3c4D
…if you choose any other data, please type it here. Please push “Next >” button, and will go to:
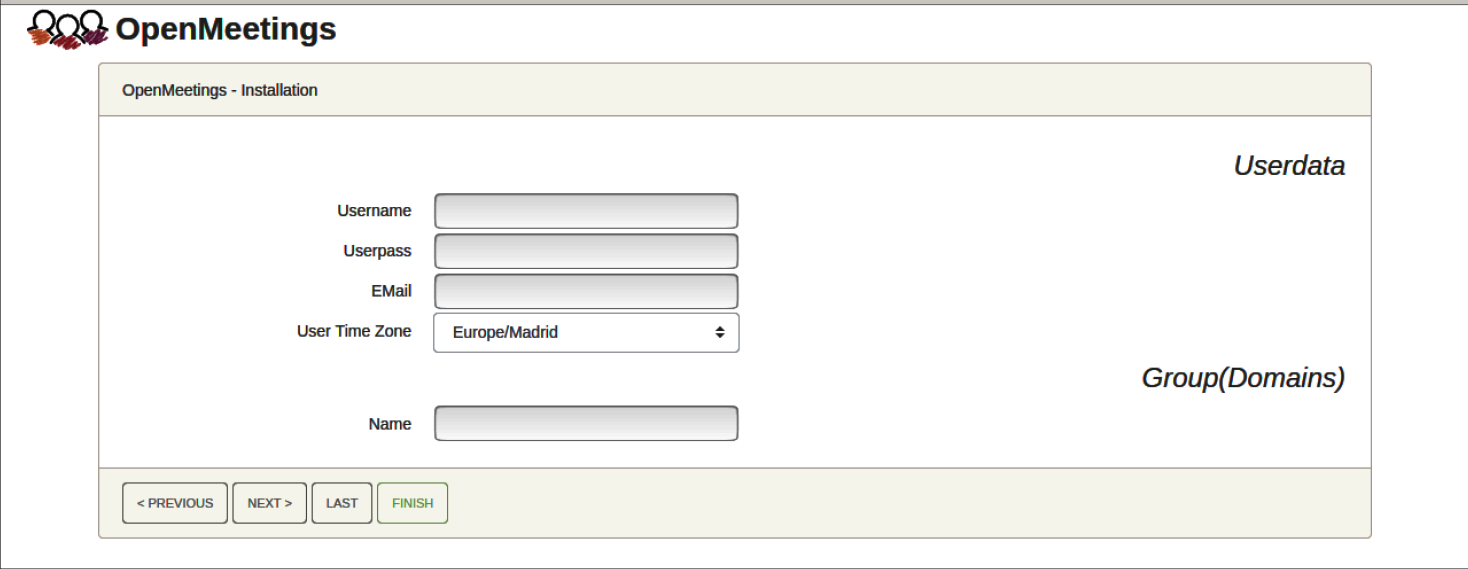
Here, we must introduce a user name for OpenMeetings, and his password. This must have 8 digits minimum, and at least 1 special symbol like: + ( % # ! …etc.
Username = a-name …this user will be administrator.
Userpass = password …for the previous user.
Email = email-adress …of the previous user.
User Time Zone = country where is this server.
Name = example-openmeetings …group name to choose.
Write down your username and password on a piece of paper, then it will be used to access OpenMeetings later.
Press the button “Next >” and will lead us to a new page (below) where you can select the language for your OpenMeetings server, as well as other options such as the configuration of the mail server being used to send invitations or meetings from OpenMeetings:
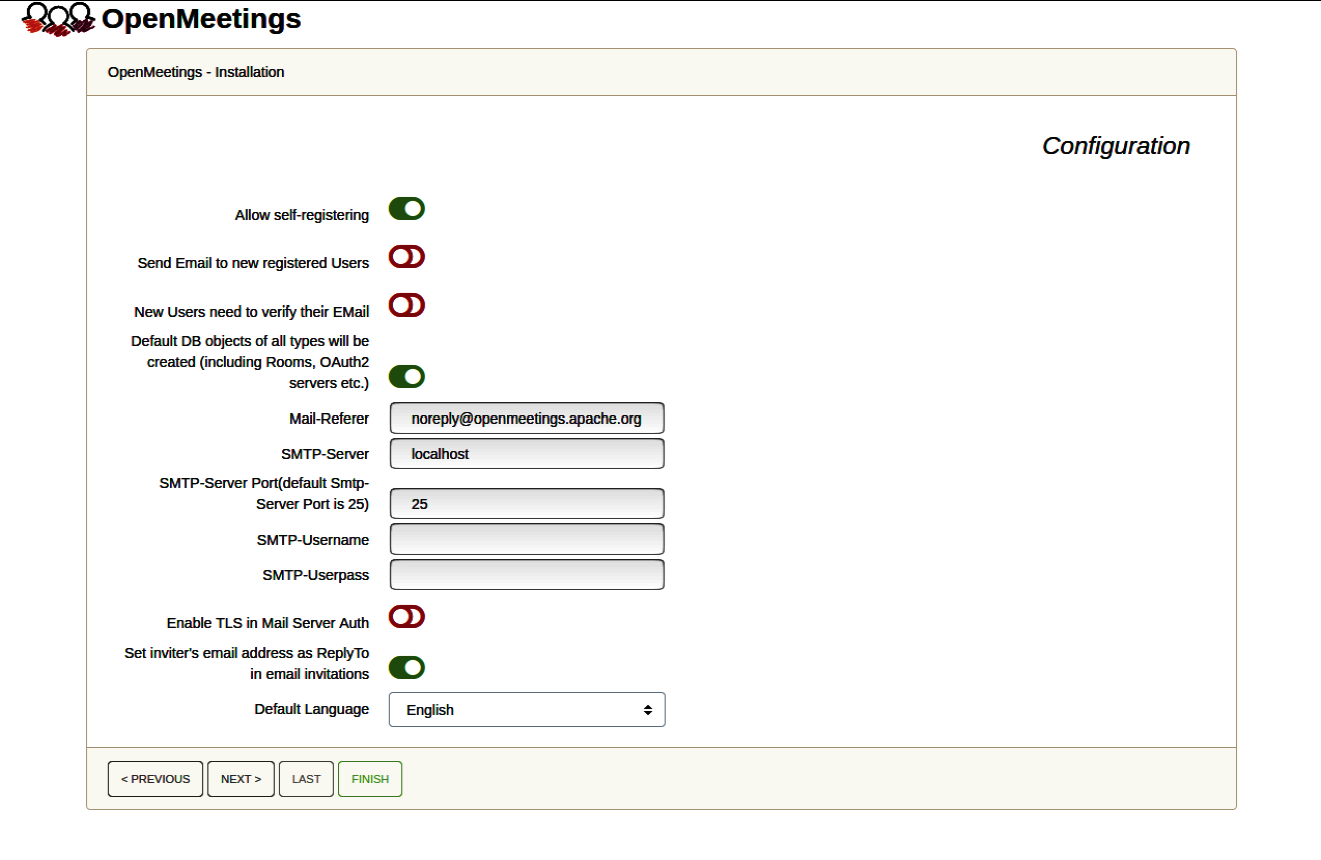
A valid example to configure the mail server with Gmail, is as follows:
(replace john@gmail.com with your real Gmail account)
Mail-Refer == john@gmail.com
SMTP-Server == smtp.gmail.com
SMTP-Server Port (default Smtp-Server Port is 25) == 587
SMTP-Username == john@gmail.com
SMTP-Userpass == password of john@gmail.com
Enable TLS in Mail Server Auth == …turn green the button to activate
Default Language == …select your language
…the rest you can change it as you likes.
Now press the button “Next >” and a new page will appear:
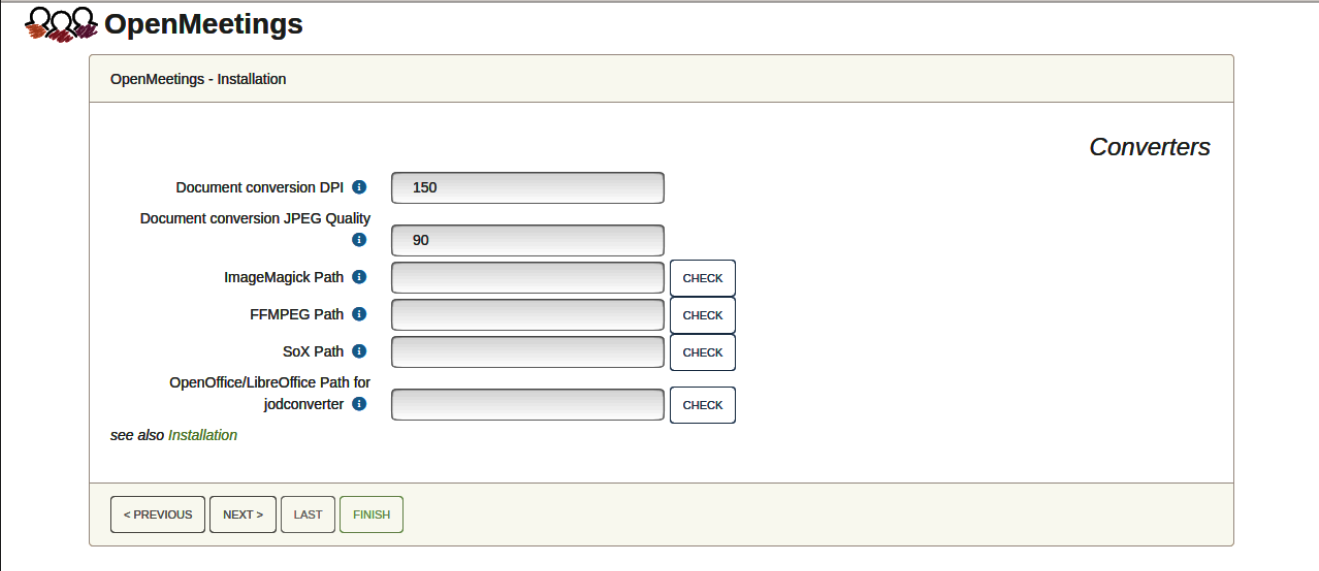
Here we´ll introduce the respective paths for the image, video, audio and conversion of uploaded files:
ImageMagick Path == …here empty
FFMPEG Path == …here empty
SOX Path == …here empty
OpenOffice/LibreOffice Path for jodconverter == /usr/lib/libreoffice
As you go introducing paths, you can check if they are correct by pressing the button labeled Check.
Once completed the paths, please click the button “Next >” and move on to another page that we will leave as is:
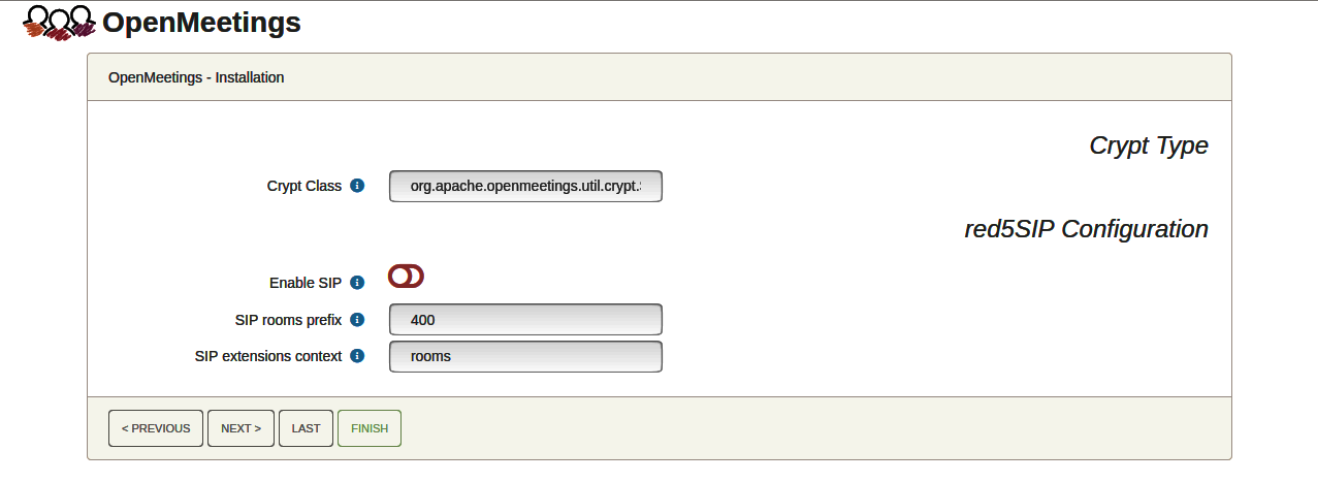
Now push the button “Next >” and will show this window:
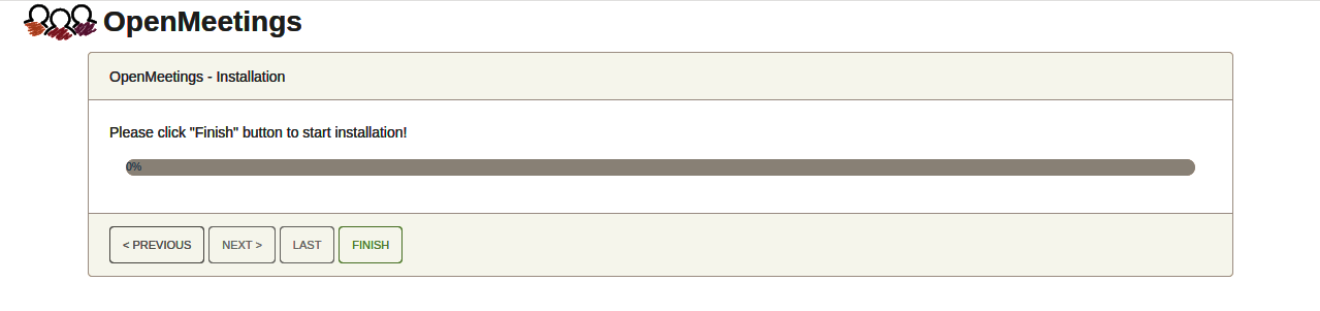
Press the “Finish” button …wait for a few seconds until the tables are filled in the database.
When this has concluded, another page will appear. Don´t click on Enter the Application. First, we need to restart the server:
sudo /etc/init.d/tomcat34 restart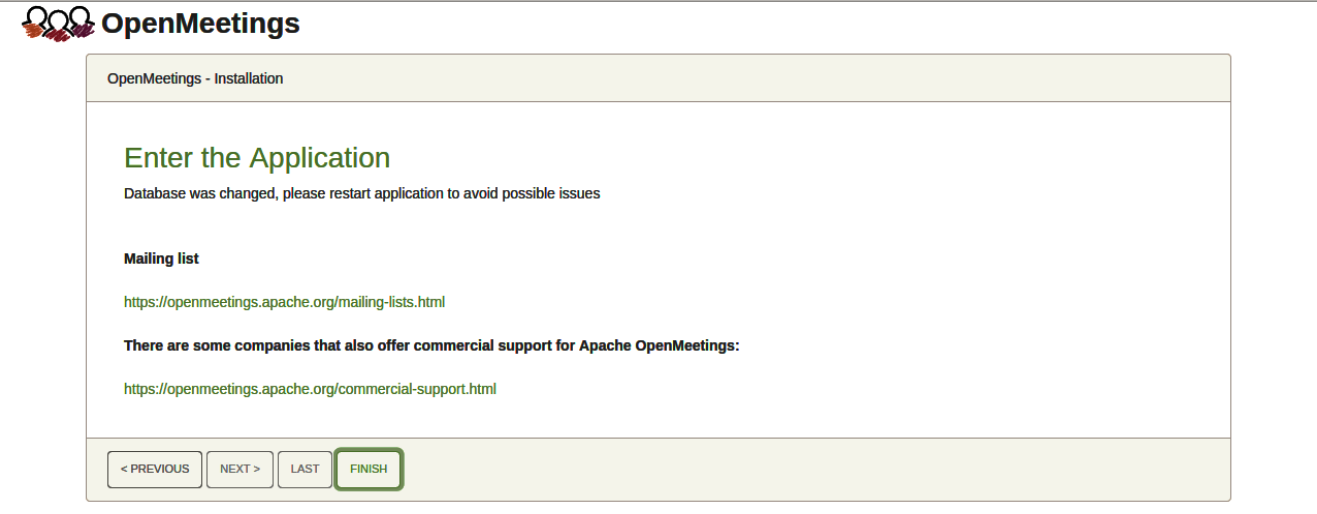
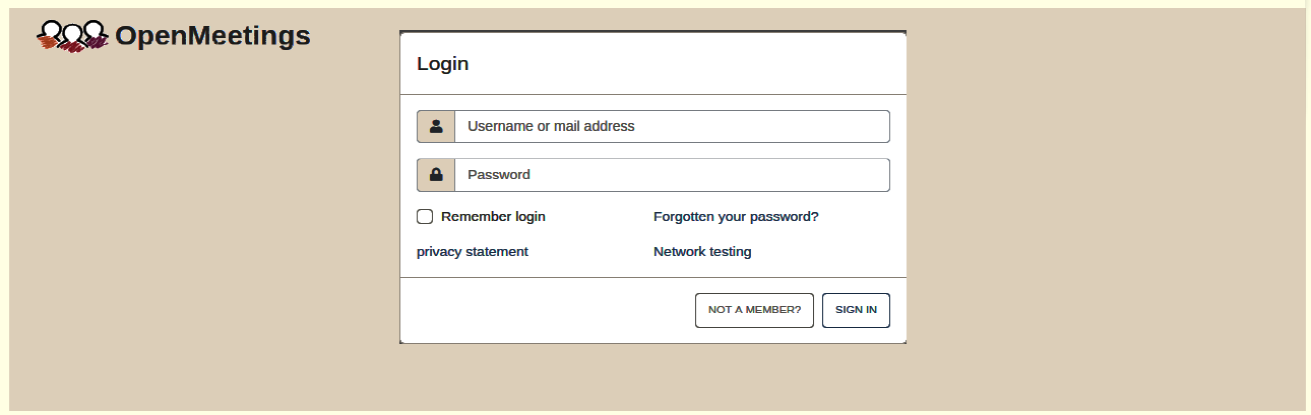
Now yes, you can clic on Enter the Application, or go with your browser to:
https://localhost:5443/openmeetings/
…and will take us to the entry of OpenMeetings:
Configure LLMeetings
Renaming /openmeetings context
Following these steps to configure LLMeetings
stop openmmetings if it is running
sudo /etc/init.d/tomcat34 stopgo to openmeetings install dir
cd /opt/open710rename openmeetings to llmeetings
sudo mv webapps/openmeetings /webapps/llmeetingsopen /opt/open710/webapps/root/index.html using your favorite text editor
sudo vi /opt/open710/webapps/root/index.htmlfind and modify <meta http-equiv=”REFRESH” content=”0;url=openmeetings/”> to be <meta http-equiv=”REFRESH” content=”0;url=llmeetings/“>
Changing hard-coded application name in string labels
To have llmeetings instead of Openmeetings in all text labels you need to do the following:
- ensure {0} placeholder is used in all strings you have added and/or modified (all strings bundled into Openmeetings already have this placeholder)
- login to LLMeetings as user with administrator privileges
- go to Administration -> Configuration
- find and edit configuration with name application.name
- Set its value to be LLMeetings
- Save
- reload page or relogin
Build from Source
Install maven
Obtain and uncompress LLMeeting-2.0.0-SNAPSHOT-src.tar.gz to working directory /opt
sudo mv LLMeeting-2.0.0-SNAPSHOT-src llmeetingsNow you need to use mvn to build the package. Following simple steps to install maven. We suggest using the latest stable version.
sudo wget https://dlcdn.apache.org/maven/maven-3/3.9.9/binaries/apache-maven-3.9.9-bin.tar.gzPrevious stable version Apache maven 3.8.8 works for LLMeetings 2.0
sudo wget https://dlcdn.apache.org/maven/maven-3/3.8.8/binaries/apache-maven-3.8.8-bin.tar.gzuncompress the package to any directory, e.g /opt
sudo tar xzvf apache-maven-3.8.8-bin.tar.gzNow add the mvn directory to the system path by adding the following lines to .profile
JAVA_HOME='/opt/jdk-17.0.1'
PATH="$JAVA_HOME/bin:$PATH"
export PATH

M2_HOME='/opt/apache-maven-3.8.8'
PATH="$M2_HOME/bin:$PATH"
export PATH
The .profile after adding jdk and mvn system path will look like following
# ~/.profile: executed by Bourne-compatible login shells.

if [ "$BASH" ]; then
  if [ -f ~/.bashrc ]; then
    . ~/.bashrc
  fi
fi

mesg n 2> /dev/null || true

JAVA_HOME='/opt/jdk-17.0.1'
PATH="$JAVA_HOME/bin:$PATH"
export PATH

M2_HOME='/opt/apache-maven-3.8.8'
PATH="$M2_HOME/bin:$PATH"
export PATH
Then make the .profile updated
source ~/.profileBuild
Check known vulnerabilities
mvn org.sonatype.ossindex.maven:ossindex-maven-plugin:audit -f pom.xmlCheck updates
mvn versions:display-dependency-updates -DincludeParent
mvn versions:display-plugin-updates -DincludeParent
mvn versions:display-property-updates -DincludeParent
Check dependency
mvn org.apache.maven.plugins:maven-dependency-plugin:analyze-onlybuild
mvn clean install -P allModulesIf you see license and testing errors, you need skip them by this command
mvn clean install -P allModules -DskipTests=true -Dsite.skip=true -Drat.numUnapprovedLicenses#=100After successfully building, you will have a server package named LLMeetings-2.0.0-SNAPSHOT.tar.gz, you need to install the server and run it.
sudo cp LLMeetings-2.0.0-SNAPSHOT.tar.gz /opt
sudo tar zxvf LLMeetings-2.0.0-SNAPSHOT.tar.gz
sudo mv LLMeetings-2.0.0-SNAPSHOT llm200
modify tomcat34 file, change CATALINA_HOME to /opt/llm200
vi /etc/init.d/tomcat34CATALINA_HOME=/opt/llm200sudo /etc/init.d/comcat34 restartAnd you need to install LLMeeting 2.0 by following the steps mentioned above. We suggest installing a new database named llm200.
Check Version
After logging to the system, click “About” on the upper right corner of dashboard. You will see a popup window to show the version of the system which is 2.0.0-SNAPSHOT with Revision 47bc27a and Build date 2024-11-11T10:00:16Z
